
>>

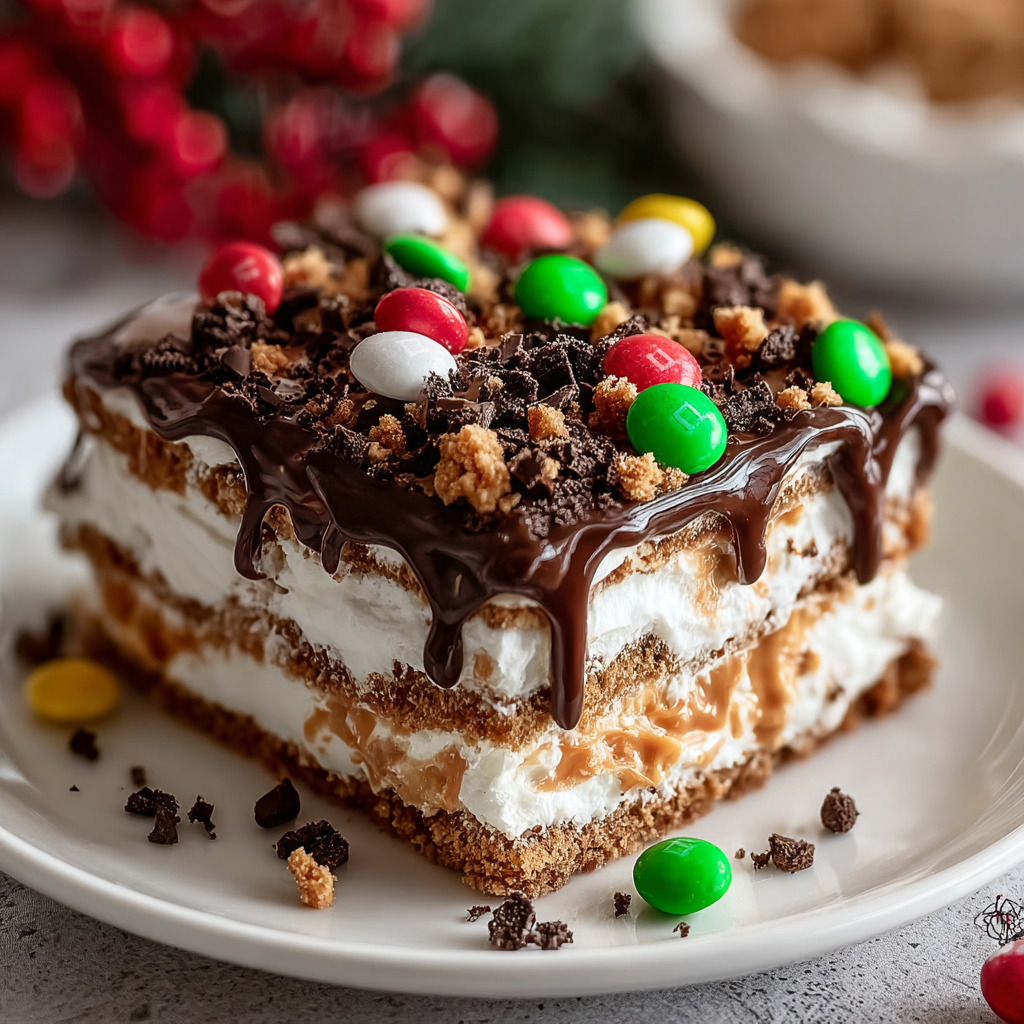
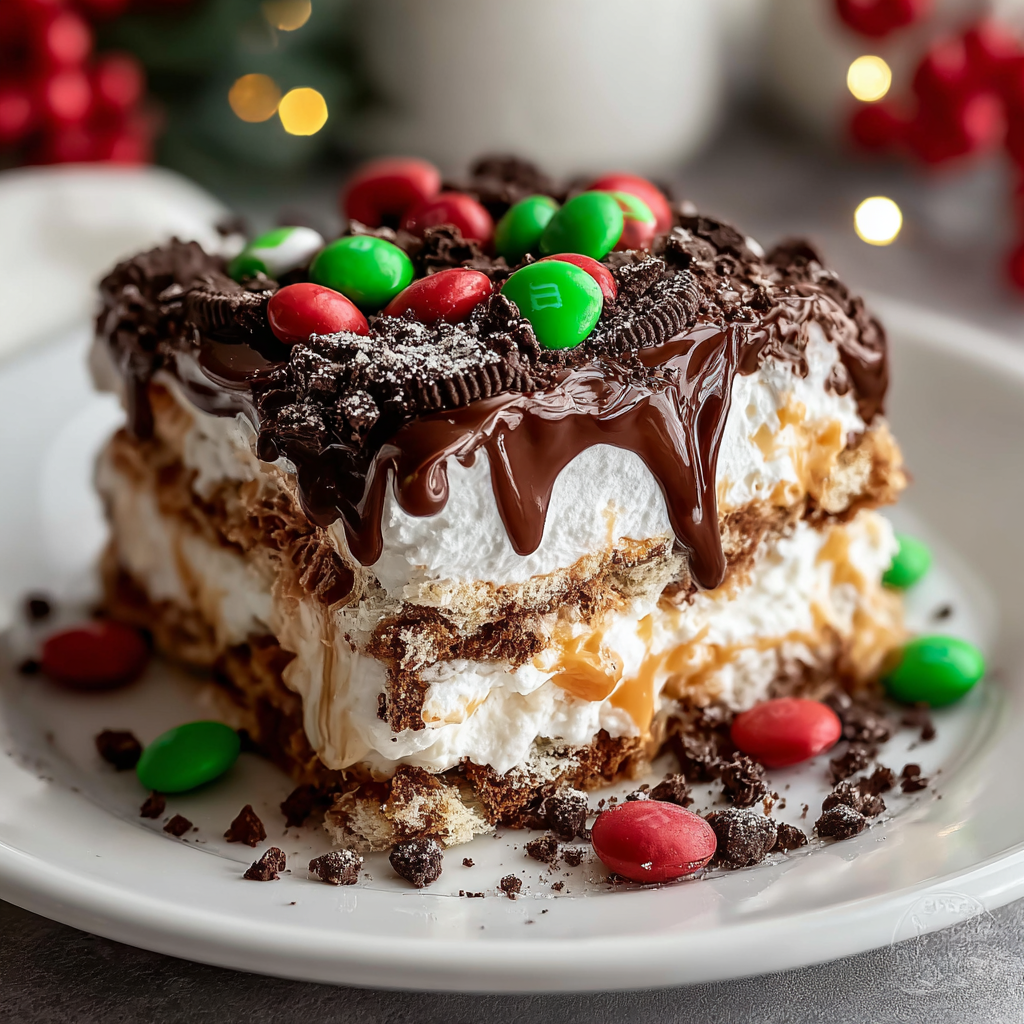
Layers of cookie crumb crust, fluffy cream cheese filling, chocolate and vanilla pudding, and festive toppings make this easy no-bake holiday centerpiece.
This No-Bake Cookie Lasagna became my go-to dessert the first winter I tried to satisfy a crowd with minimal oven time and maximum cheer. I discovered the idea while juggling holiday parties and a picky cousin who only eats chocolate. The layered contrast — crisp cookie crumb base, a silky cream cheese layer, rich chocolate pudding and light vanilla pudding — hits that sweet spot between comfort and celebration. It’s a dessert that travels well, looks festive on a buffet, and can be made a day ahead so every host can actually enjoy their own party.
I remember making this for a family cookie swap weekend; the pan disappeared in under an hour and my grandmother kept asking for the recipe. The textures are what make it special: a firm, slightly crunchy Oreo crumb crust, a tangy smooth cream cheese middle that balances the sweetness, and pudding layers that set to a spoonable yet firm consistency. The whipped topping on top keeps it bright and airy while the sprinkles and mini candies give every slice a joyful finish. It’s simple to assemble, forgiving if measurements are a touch off, and endlessly adaptable.
Personally, I love that this dessert lets me prep early, then spend more time with family. At one gathering my aunt suggested adding extra chocolate pudding; it became a hit so now I sometimes pipe a swirl of ganache on top for rich contrast. The recipe reliably gets compliments and requests for the next party, which is the highest praise in my house.
The thing I love most about this layered dessert is how forgiving it is. Once I learned to let the cream cheese come fully to room temperature, the texture became silky and spreadable. At one holiday party a neighbor commented that the layers reminded them of childhood pudding cups, which made me realize this is comfort food with grown-up presentation. Kids love decorating it with candies and sprinkles, which makes it a fun project for family gatherings.

Store the covered pan in the refrigerator and consume within four days for best flavor and food safety. Use an airtight lid or press a layer of plastic wrap directly on the whipped topping to prevent it from absorbing fridge odors. If you need to freeze it, wrap the pan well with plastic wrap and a layer of foil, then label with the date. Thaw in the refrigerator overnight before serving; avoid thawing at room temperature to keep the whipped topping from weeping. For individual portions, cut slices while still chilled and transfer to airtight containers for grab-and-go treats.
If you want to lighten the recipe, swap full-fat cream cheese for a reduced-fat cream cheese, though texture will be slightly less rich. Use Greek yogurt thinned with a little milk instead of part of the whipped topping to cut calories and add tang. For a gluten-free version, use certified gluten-free chocolate sandwich cookies. Vegan adaptations are possible by using vegan cream cheese, nondairy whipped topping, and nondairy pudding mixes, but expect subtle differences in mouthfeel. For added depth, stir a tablespoon of instant espresso into the chocolate pudding mix.
Serve slices chilled with a fork, and present on a simple white platter to showcase the layered cross-section. Pair it with strong coffee or lightly sweetened tea to balance richness. For holiday events, add a sprig of fresh mint or a dusting of cocoa on the chocolate layer edge. This dish also works as a buffet-friendly bar—cut into fingers for easy sharing at parties. For a child-friendly version, swap holiday candies for colorful sprinkles and small gummy decorations.
Layered no-bake desserts like this one draw inspiration from classic American layered puddings and European entremets. The idea of a cookie crumb crust is rooted in mid-20th century convenience baking, when packaged cookies and instant mixes became household staples. Over time, cooks combined these convenient elements into celebratory layered desserts for holidays and potlucks. This particular assembly—cream cheese, pudding, and whipped topping—has become a modern American holiday favorite because it balances speed, nostalgia, and visual appeal.
Swap sprinkles and candies to match the season: pastel candies and edible flowers for spring, orange and brown candies for autumn, or red and green for the winter holidays. In summer, use fresh berries atop the whipped topping for brightness; macerate berries with a teaspoon of sugar to release juices and spoon lightly over the vanilla pudding layer. For a winter twist, add a pinch of cinnamon to the cream-cheese layer or top with chopped peppermint candies for festive crunch.
Assemble the crust and cream layer the day before for easy finishing. Prepare and chill the crust and cream layer in the morning, then whisk pudding mixes in the evening and layer before guests arrive. Store the pudding mixes in a cool, dry pantry and keep milk chilled until ready to whisk. Use a disposable 9x13-inch pan when bringing the dessert to potlucks and hand out the lid for easy transport. When cutting, run a sharp knife under hot water, dry it, and slice to create cleaner edges.
This dessert is one of my favorites to bring to gatherings because it allows me to be present with guests rather than stuck by an oven. Try it once and you’ll see why it’s become a holiday staple in my family.
Soften cream cheese to room temperature for at least 20 minutes to ensure a lump-free, silky cream layer.
Press the crust firmly using the bottom of a measuring cup for an even, compact base that slices cleanly.
For neater slices, chill the pan overnight and run a sharp knife under hot water, dry it, and slice between cuts.
This nourishing no-bake cookie lasagna recipe is sure to be a staple in your kitchen. Enjoy every moist, high protein slice — it is perfect for breakfast or as a wholesome snack any time.
This No-Bake Cookie Lasagna recipe makes perfectly juicy, tender, and flavorful steak every time! Serve with potatoes and a side salad for an unforgettable dinner in under 30 minutes.
Crush 36 sandwich cookies into fine crumbs using a food processor or a sealed bag and rolling pin. Mix crumbs with 1/2 cup melted unsalted butter until mixture holds together when pressed. Press firmly into the bottom of a 9x13-inch pan and chill 10 to 15 minutes to set.
Beat 8 ounces softened cream cheese with 1/4 cup granulated sugar, 2 tablespoons milk, and 1 teaspoon vanilla until smooth. Fold in 1 1/2 cups thawed whipped topping and spread evenly over the chilled crust.
Whisk each instant pudding mix with 1 1/2 cups cold milk in separate bowls. Let stand 3 to 5 minutes until thickened but still spoonable.
Spoon the chocolate pudding over the cream-cheese layer and smooth gently. Add the vanilla pudding and level the surface carefully to avoid mixing layers.
Spread the remaining 1 1/2 cups whipped topping on the vanilla layer, decorate with sprinkles and mini candies, cover, and chill at least 4 hours or overnight for best results.
Last Step: Please leave a rating and comment letting us know how you liked this recipe! This helps our business to thrive and continue providing free, high-quality recipes for you.
Leave a comment & rating below or tag
@aiolirecipe on social media!

A cozy, colorful salad that celebrates autumn flavors — roasted butternut squash and Brussels sprouts tossed with pasta, cranberries, pecans, and tangy feta, finished with a balsamic vinaigrette.

Bright, tangy cilantro-lime marinated flank steak served over rice with black beans, corn, fresh veggies and creamy avocado for a fast, healthy weeknight bowl.

Buttery crescent rolls filled with a sweet pecan pie–inspired filling — a quick, crowd-pleasing dessert perfect for holidays or weeknight cravings.
Leave a comment & rating below or tag @aiolirecipe on social media!
Enjoyed this recipe? Share it with friends and family, and don't forget to leave a review!
This recipe looks amazing! Can't wait to try it.
Comments are stored locally in your browser. Server comments are displayed alongside your local comments.
Join to receive our email series which contains a round-up of some of our quick and easy family favorite recipes.
